
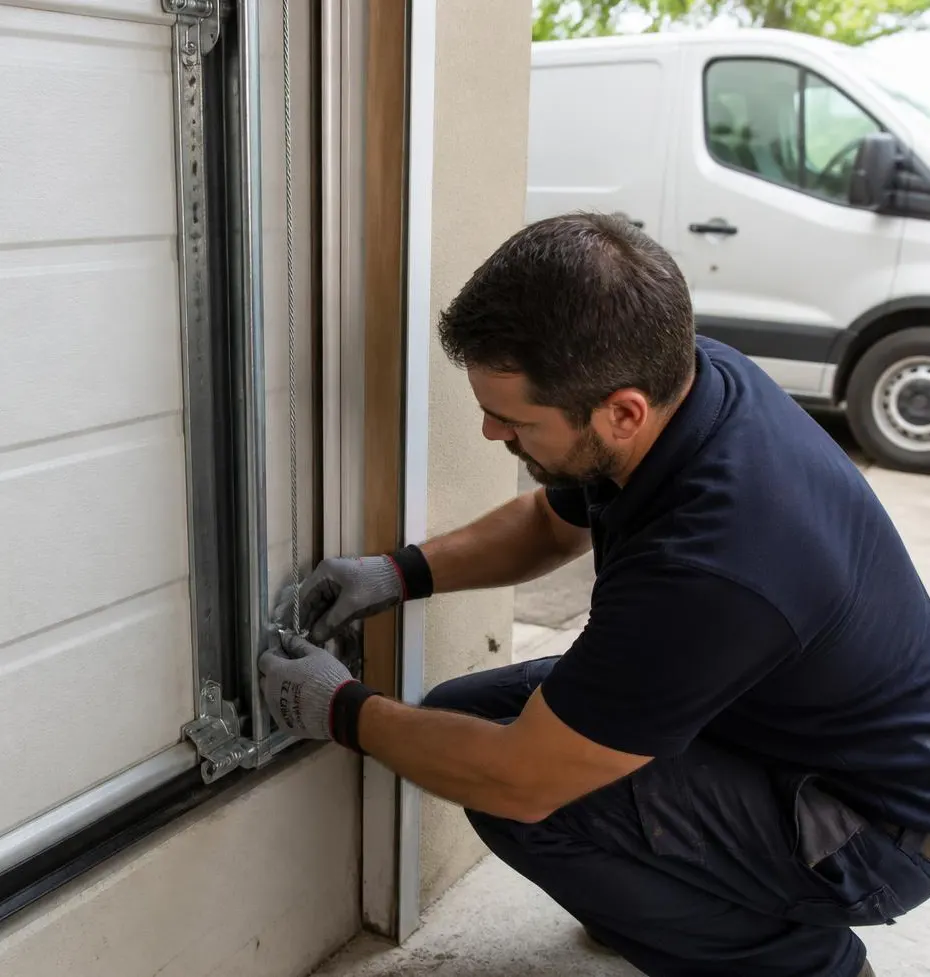
What a Technician Sees on a Typical Seal Call
Most service calls about seals start the same way: a homeowner notices a dark line of water at the base of the door after an afternoon downpour, or finds mud dauber nests and cricket shells along the bottom edge. When we pull up the door, the seal is usually flattened on one side, cracked from UV exposure, or pulled halfway out of its track. Sometimes the metal retainer that holds the seal has rusted through from sitting in standing water after storms, especially on doors closer to the coast where salt air speeds up corrosion. The fix is almost always cheap and fast — it just gets put off until the gap is big enough to let in light, bugs, and water.
Why This Matters More Here Than Elsewhere
Gadsden County's weather is hard on garage doors. Afternoon downpours during storm season push water sideways under a worn seal, humidity swells wood thresholds and warps old rubber strips, and as temperatures finally start to drop in late fall, pests look for dry, sheltered gaps to move into — and a cracked bottom seal is an open invitation. A $20–$40 seal replacement, done before the gap gets worse, is a lot cheaper than drying out water damage or dealing with a rodent problem in stored boxes.
Tools You'll Need
- Replacement vinyl or rubber bottom seal (matched to your track style: T-style, bulb, or beaded)
- Tape measure
- Utility knife or sharp box cutter
- Flat pry bar (if the old seal is nailed rather than slid into a track)
- Screwdriver or nut driver (for retainer screws, if present)
- Stiff brush or shop vac for cleaning the track and threshold
- Work gloves
- Silicone spray or soapy water (to help feed the new seal through a tight track)
- Ladder, if you're also replacing top or side weatherstripping
Step-by-Step: Replacing the Bottom Seal
- Identify your seal type. Most residential doors use a T-style or bulb seal that slides into an aluminum retainer along the bottom panel. Measure the width of the channel opening at the hardware store or online to buy a matching profile.
- Measure the door width and buy a seal a few inches longer than needed — you'll trim it to fit.
- Raise the door fully and secure it. If it's an automatic opener, disconnect or unplug it so no one accidentally triggers it while you're working underneath.
- Remove the old seal. Slide it out of the track end to end, or pry out nailed flange-style seals with a flat bar, working slowly so you don't bend the retainer.
- Clean the channel and the threshold. Scrape out dried mud, leaves, and rust flakes. This is also a good moment to check the slab for low spots or cracks where water tends to pool.
- Cut the new seal to length with a utility knife, leaving a small amount of extra material at each end.
- Feed the new seal into the track from one end, working it across the full width. A little soapy water or silicone spray makes stiff vinyl slide in easier.
- Lower the door and check contact. The seal should touch the floor evenly across the entire width, with no visible gaps or spots where it's compressed too hard.
- Do a light test. Close the door, turn off the garage lights, and look for daylight coming through at the bottom or sides — any visible light means a gap that needs adjusting.
- Replace side and top weatherstripping the same way if it's cracked or missing, matching it to the existing fastening pattern on the door frame (nailed flange or screwed track).
What's DIY and What Needs a Technician
Replacing a straight bottom seal on a door that closes flush and sits on a level slab is a reasonable weekend job for most homeowners — it takes under an hour with the right seal on hand. Side and top weatherstripping on a flat, undamaged frame is also manageable DIY work.
Call in a technician if any of these apply: the metal retainer is bent, rusted through, or won't hold a new seal in place; the slab is uneven or sloped enough that no seal will sit flush no matter how you adjust it; the door doesn't close evenly across its width, which usually points to a bowed panel or an off-track issue rather than a bad seal; or the seal keeps failing within months, which can mean the door itself isn't closing square. In those cases, a new seal is just a temporary patch over a bigger problem.
When to Call Quincy Garage Door Pro
If you've replaced the seal and still see water, light, or pests getting in, it's worth having someone look at the whole system. We handle Off Track Door Repair when a door won't close square against a new seal, and our Garage Door Maintenance & Tune-Up service covers track alignment, roller condition, and hardware checks so the seal you install actually does its job instead of fighting a misaligned door.
If you're dealing with drafts, water stains, or unwanted critters getting into your garage anywhere from Quincy to Havana, Midway, or Chattahoochee, give Quincy Garage Door Pro a call — we'll get your door sealed up tight before the next round of storms rolls through.